Sending Campaigns
The Email section is a real two-way inbox tied to your connected mailbox, plus a separate campaigns tool for sending to a batch of leads or clients at once. Both share the same template system.
Connecting a mailbox
Email won't do anything until at least one mailbox is connected in Settings → Email Setup — either via SMTP (your email address and an app password) or by connecting a Gmail account directly. On Growth, you can connect more than one mailbox — a default, a marketing mailbox, a personal mailbox, or a shared team inbox — and choose which one a given message sends from. If nothing is connected yet, the inbox and compose screens will prompt you to finish setup first.
The inbox
- Messages split into Inbox and Sent folders in the left sidebar.
- The message list shows Subject, From, To, CC/BCC, Status, and open-tracking info.
- Click a message to preview it in a resizable pane. The search box filters across subject, sender, body text, and recipients.
- Reply is available from the preview pane or by double-clicking a message — there's no separate Forward button.
- Select multiple messages to Delete selected, or use Refresh to pull in new mail.
- If you have more than one mailbox connected, a mailbox filter lets you narrow the inbox down to a specific one.
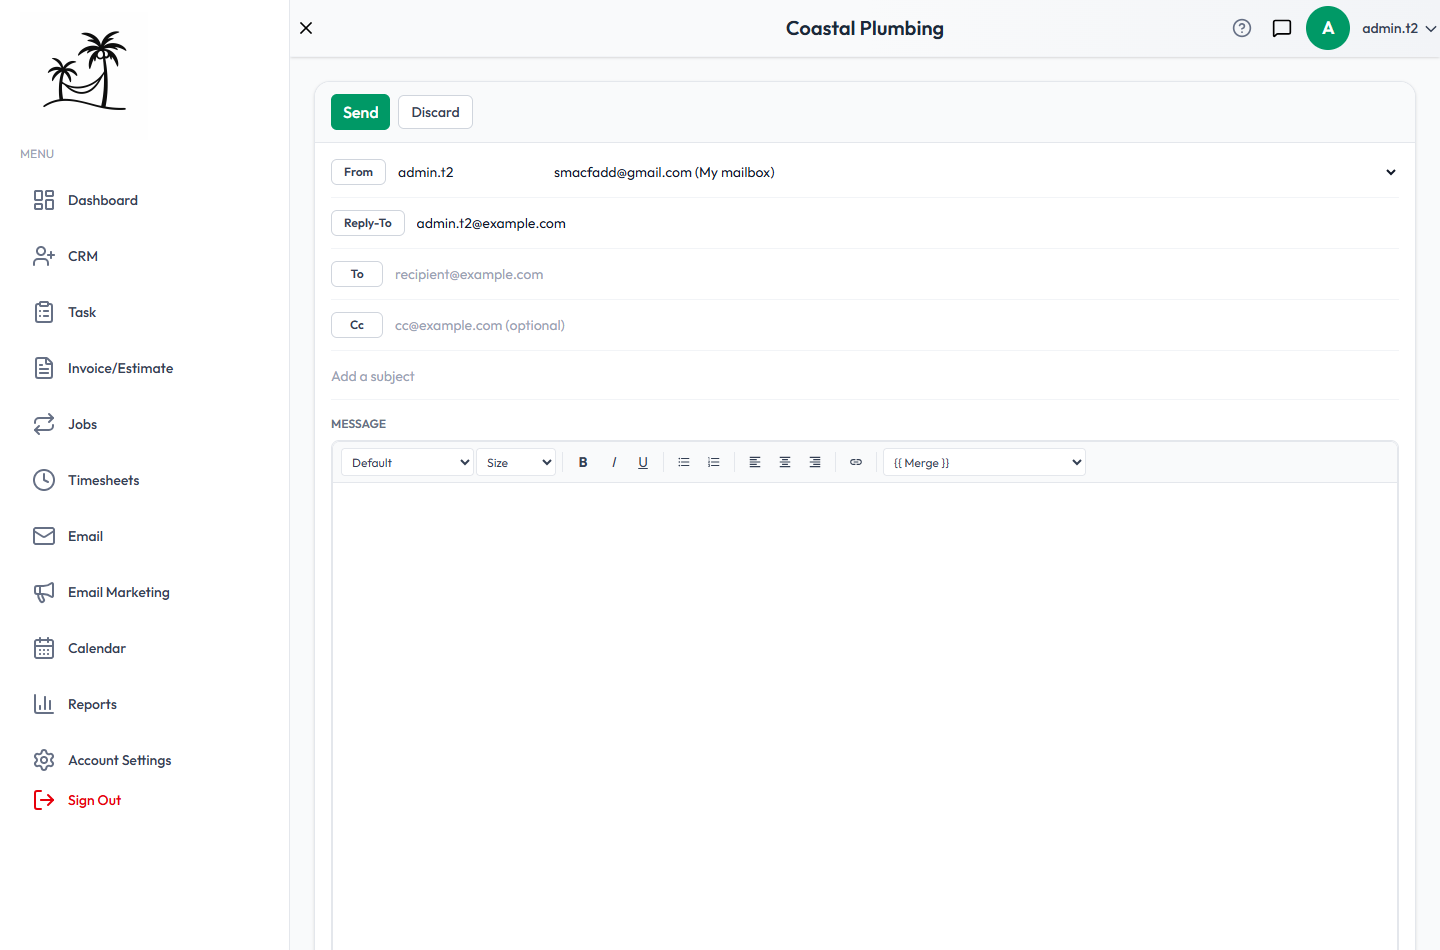
Composing an email
Fields: From name, Reply-To, To, Cc, Subject, and a rich-text body (no plain-text-only mode, no Bcc). Attach files up to 25MB each. Use the {{ Merge }} dropdown to insert contact fields like name or company directly into the message. Opening Compose from a lead's Send Email button pre-fills the To field automatically. If sending fails because a mailbox connection has expired, you'll get a banner linking straight to Email Setup.
Email templates
Templates are managed separately in Settings → Email Templates. Both one-off Compose emails and Campaigns pull from this same library.
Workflow automation
Automated email sequences that fire on an event — like a new signup — are available starting on Business, one tier below the full campaigns/marketing suite. sendTemplateEmail falls back to the platform's own transport when a tenant has no mailbox connected, so sequences still send even without a connected mailbox.
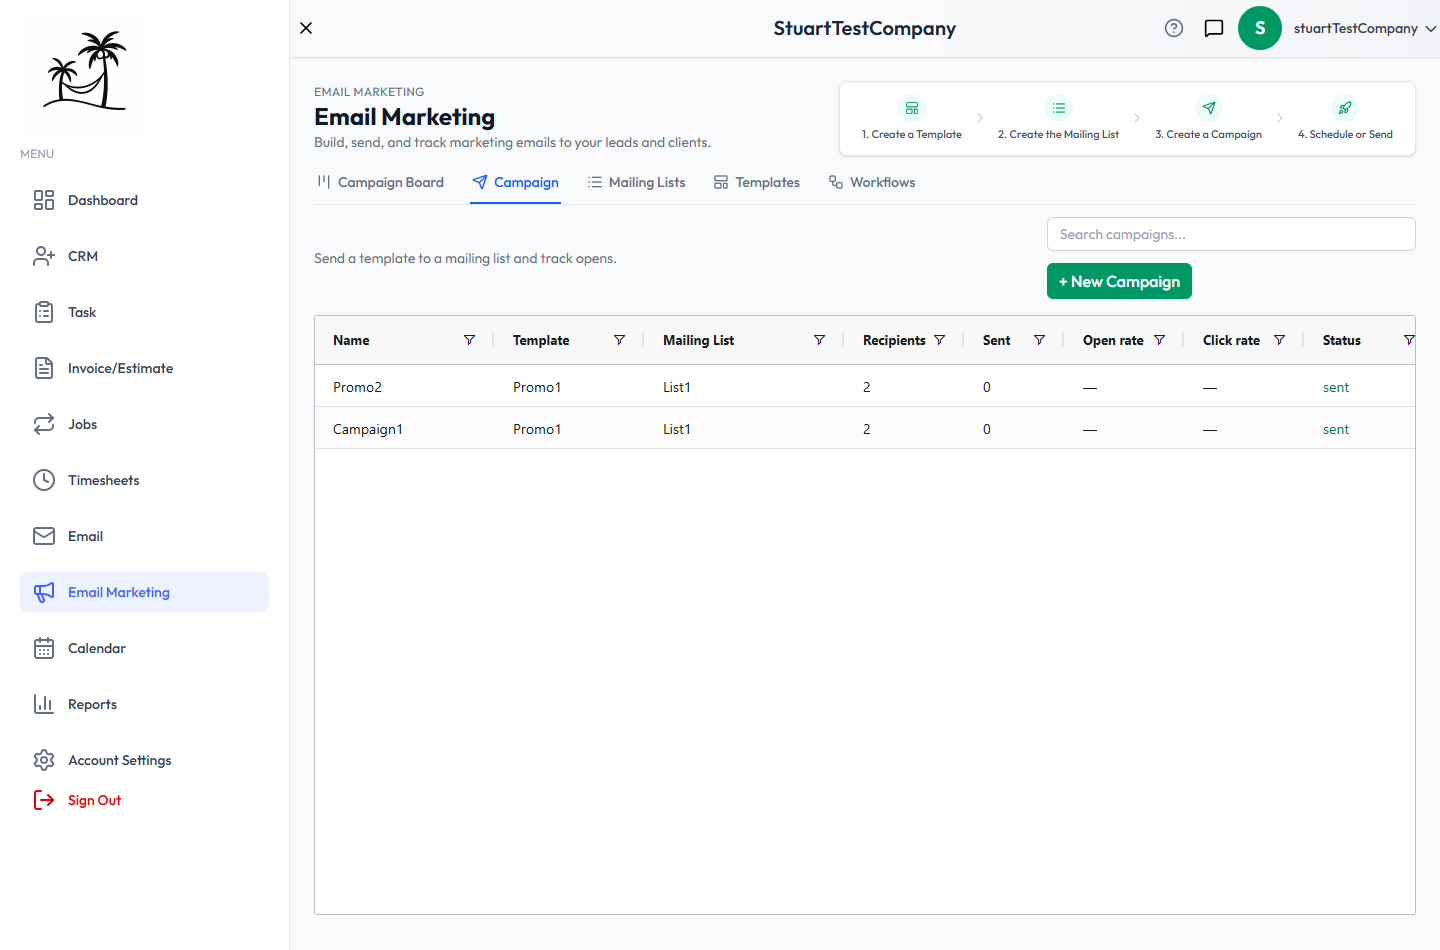
The Campaigns list
Columns: Name, Template used, Audience, Recipients, Sent count, Open rate, Click rate, Status (Draft, Scheduled, Sending, Sent, Cancelled), and Created date. Double-click a campaign to open its full results.
Building a campaign
- You always start from a Template — campaigns don't have their own free-text subject/body.
- Choose your audience: Selected records (leads/clients picked via the "Send Campaign" bulk action) or Segment (Include Leads and/or Clients, optionally narrowed by status or tag).
- Choose Send now or Schedule for later.
- Every campaign email includes an unsubscribe link automatically, and open-rate tracking is approximate — some email clients block it outright, so treat it as directional, not exact.
Reading campaign results
Stat tiles show Recipients, Sent, Opened, Open rate, Clicked, and Click rate, plus pending/failed counts. A Links Clicked table breaks down clicks per link. A per-recipient grid lists delivery status, opens, clicks, and any error for that send.
Tips
- Build your templates before you need them — campaigns require one up front.
- Use the Segment option with a status or tag filter instead of manually selecting rows — it stays accurate as new leads move into that status later.
- Don't over-read a single campaign's open rate on its own; look at click rate and reply activity too.
- If sends start failing across the board, check Email Setup first — an expired mailbox connection is the most common cause.